As Chris promised in his last post, here is my deep-dive on where we’re at with the uControl Remote software. This update is a five minute read, and a lot of it is about my approach to software design. I’m going to start by saying “Just because you can doesn’t mean you should.”
I’m (almost) certain that anyone who’s worked in an engineering or a technical field before has been told this multiple times in their career. However, I feel this particular saying is pertinent when you work in software. Other engineering disciplines, such as chemical, electrical or mechanical, are bound by rules in the physical world which limit what is and isn’t possible. This limitation, generally, doesn’t exist inside software and the only restriction in most cases is the horsepower of the hardware your software operates on. You could, in theory, build any feature set your mind desires.
This is a trap.
Set a simple goal
We navigate around this by setting a simple goal at the very start of the design process. If feature X or upgrade Y doesn’t address that goal then we (often it’s me who has to be the bad cop here) brutally cut the idea out. Our design goal was: “keep AV first and foremost”.
A goal like this sets a clear restriction on all aspects of software design which hopefully becomes evident as you read through this post. The result (I hope!) is software:
- That uses intelligent defaults so that most configuration options are ones that you would choose anyway or we automatically set based on data found in other settings.
- Design the interface in a way that visualises the remote configuration so that the remote is presented to the user in a simulation mode before committing to the device.
- Operates lean. Meaning that it works fast, fails less and could potentially function on any hardware we choose: no dedicated software and works entirely from a browser like all other HDA hardware.
A companion device
The uControl Remote has been designed to be a companion interface to HDA hardware (it will not work to the fullest of its capabilities on its own), which means that part of the process to get a uControl Remote working is to go through a mandatory basic configuration, which we call “First Boot”. In our latest operating system, uControl OS (uOS), this process is 3 steps (8 if you’re building a stacked system), and you will be guided through it from the uControl app. This will get your HDA hardware into an operational state by accomplishing three main things: connecting it to our cloud, defining zones or areas in your property, and assigning outputs or end-points inside them.
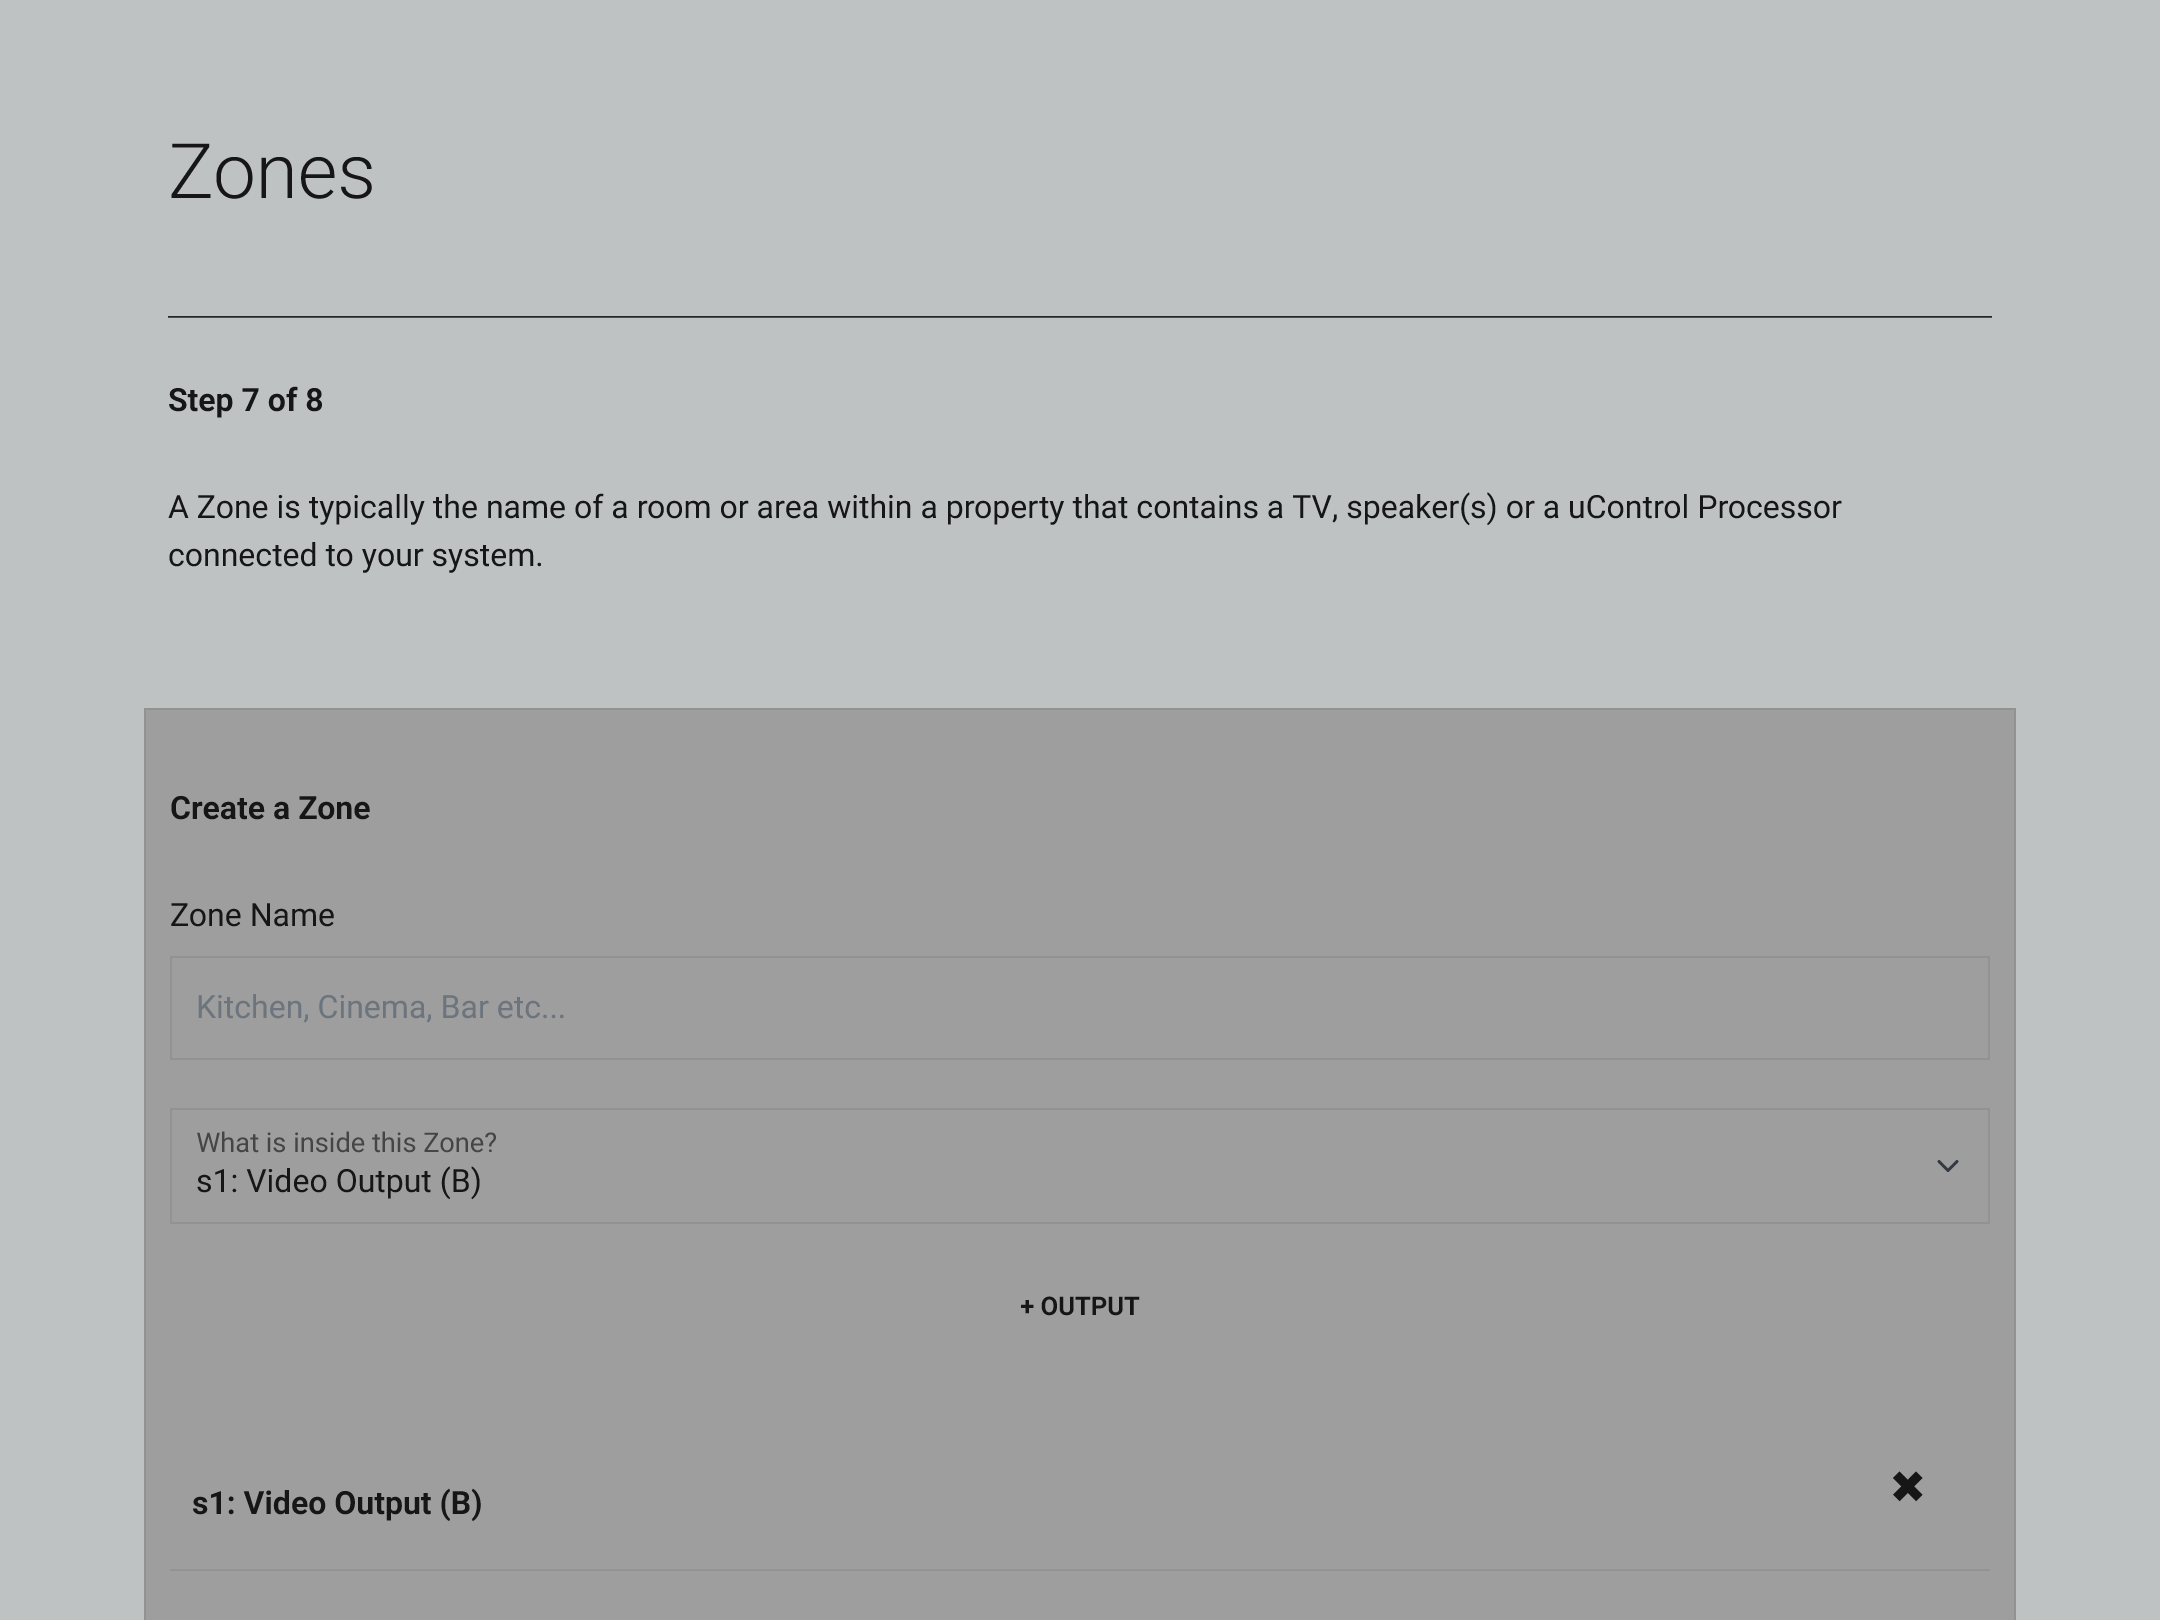
In order to setup the uControl Remote you will need to initialise your uOS controller in a process called First Boot. The image details how you add an output from MHUB in your Zone.
Controlling stuff
After the first boot process, it’s time to install uControl Packs for the sources, displays or AVRs that you wish to control. We’ve deployed tens of thousands of packs to date and we’ve refined this process in uOS so that it’s buttery smooth.
uControl Packs are files held on our cloud which contain device’s data for control, including the GUI layout for the app, all supported commands (IR or IP) and connection information.
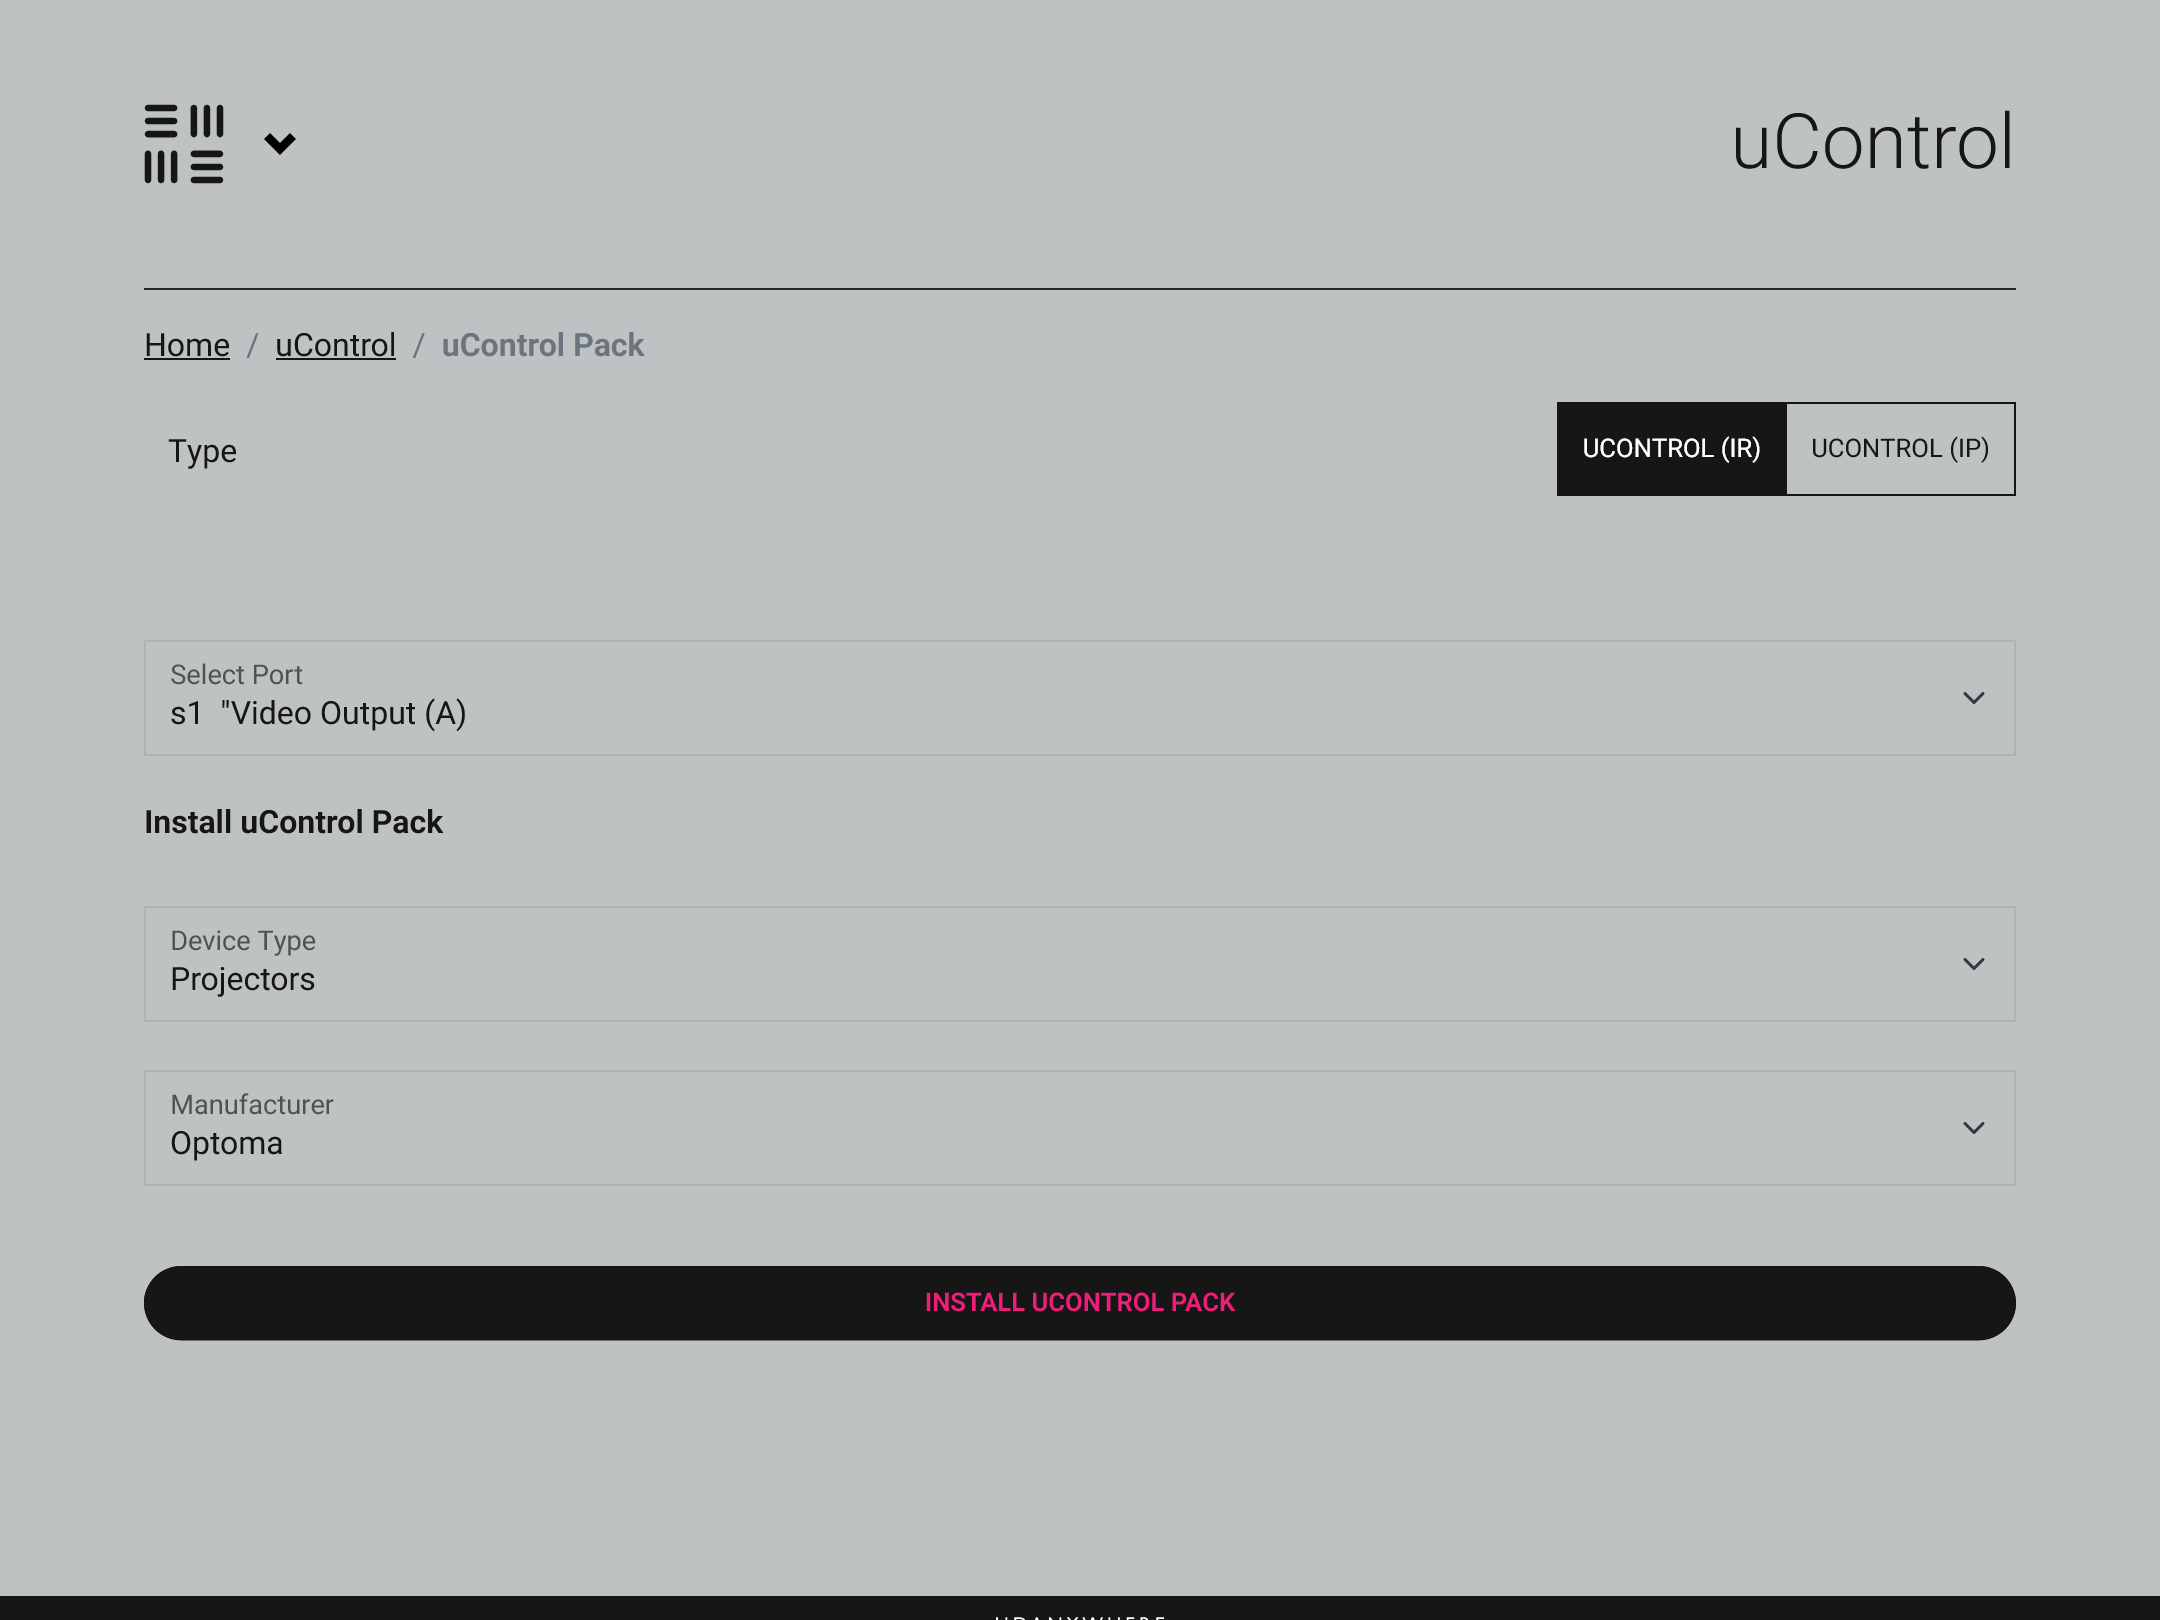
Choose if you want to control your device over IR or IP and then select the device you want to install control for quickly and easily.
Downloading a uControl Pack is very easy. Select if you want to browse IP or IR packs, then browse device type, manufacturer and range, that’s it. If more than one pack matches that criteria, then uOS will download them all so you can test each one quickly and from one page. Where our system differs from others is that our packs are arranged by popularity rather than model number. So the first pack presented for test is the pack most often installed. In most cases, this matches what you want the first time which is a neat little time-saving feature. Once your uControl Pack is installed they become immediately exposed to our app, remote, voice, watch or API.
In newer HDA hardware you will also find a CEC uControl Pack (pre-installed) which will allow control over sources and displays - as long as the CEC command is supported!

The option to configure the uControl Remote will appear in uOS before the launch of the remote.
Adding the remote
You're almost there.
If you have set up a control system remote before, then this bit should feel quite familiar and we’re not doing anything drastically different here. Once the remote has joined the LAN it can be scanned for and added to uOS. After that, you’re asked 3 questions:
- Which zone do you want to add the remote to?
- Which end-point is in charge of volume control? (i.e. if there’s more than one audio output choice, for example an AVR and the TV speakers themselves, then we will ask you to nominate a default, as the remote can and will support 2 different volume commands if desired).
- Add an On/Off Sequence to the power button or list devices for individual power control.
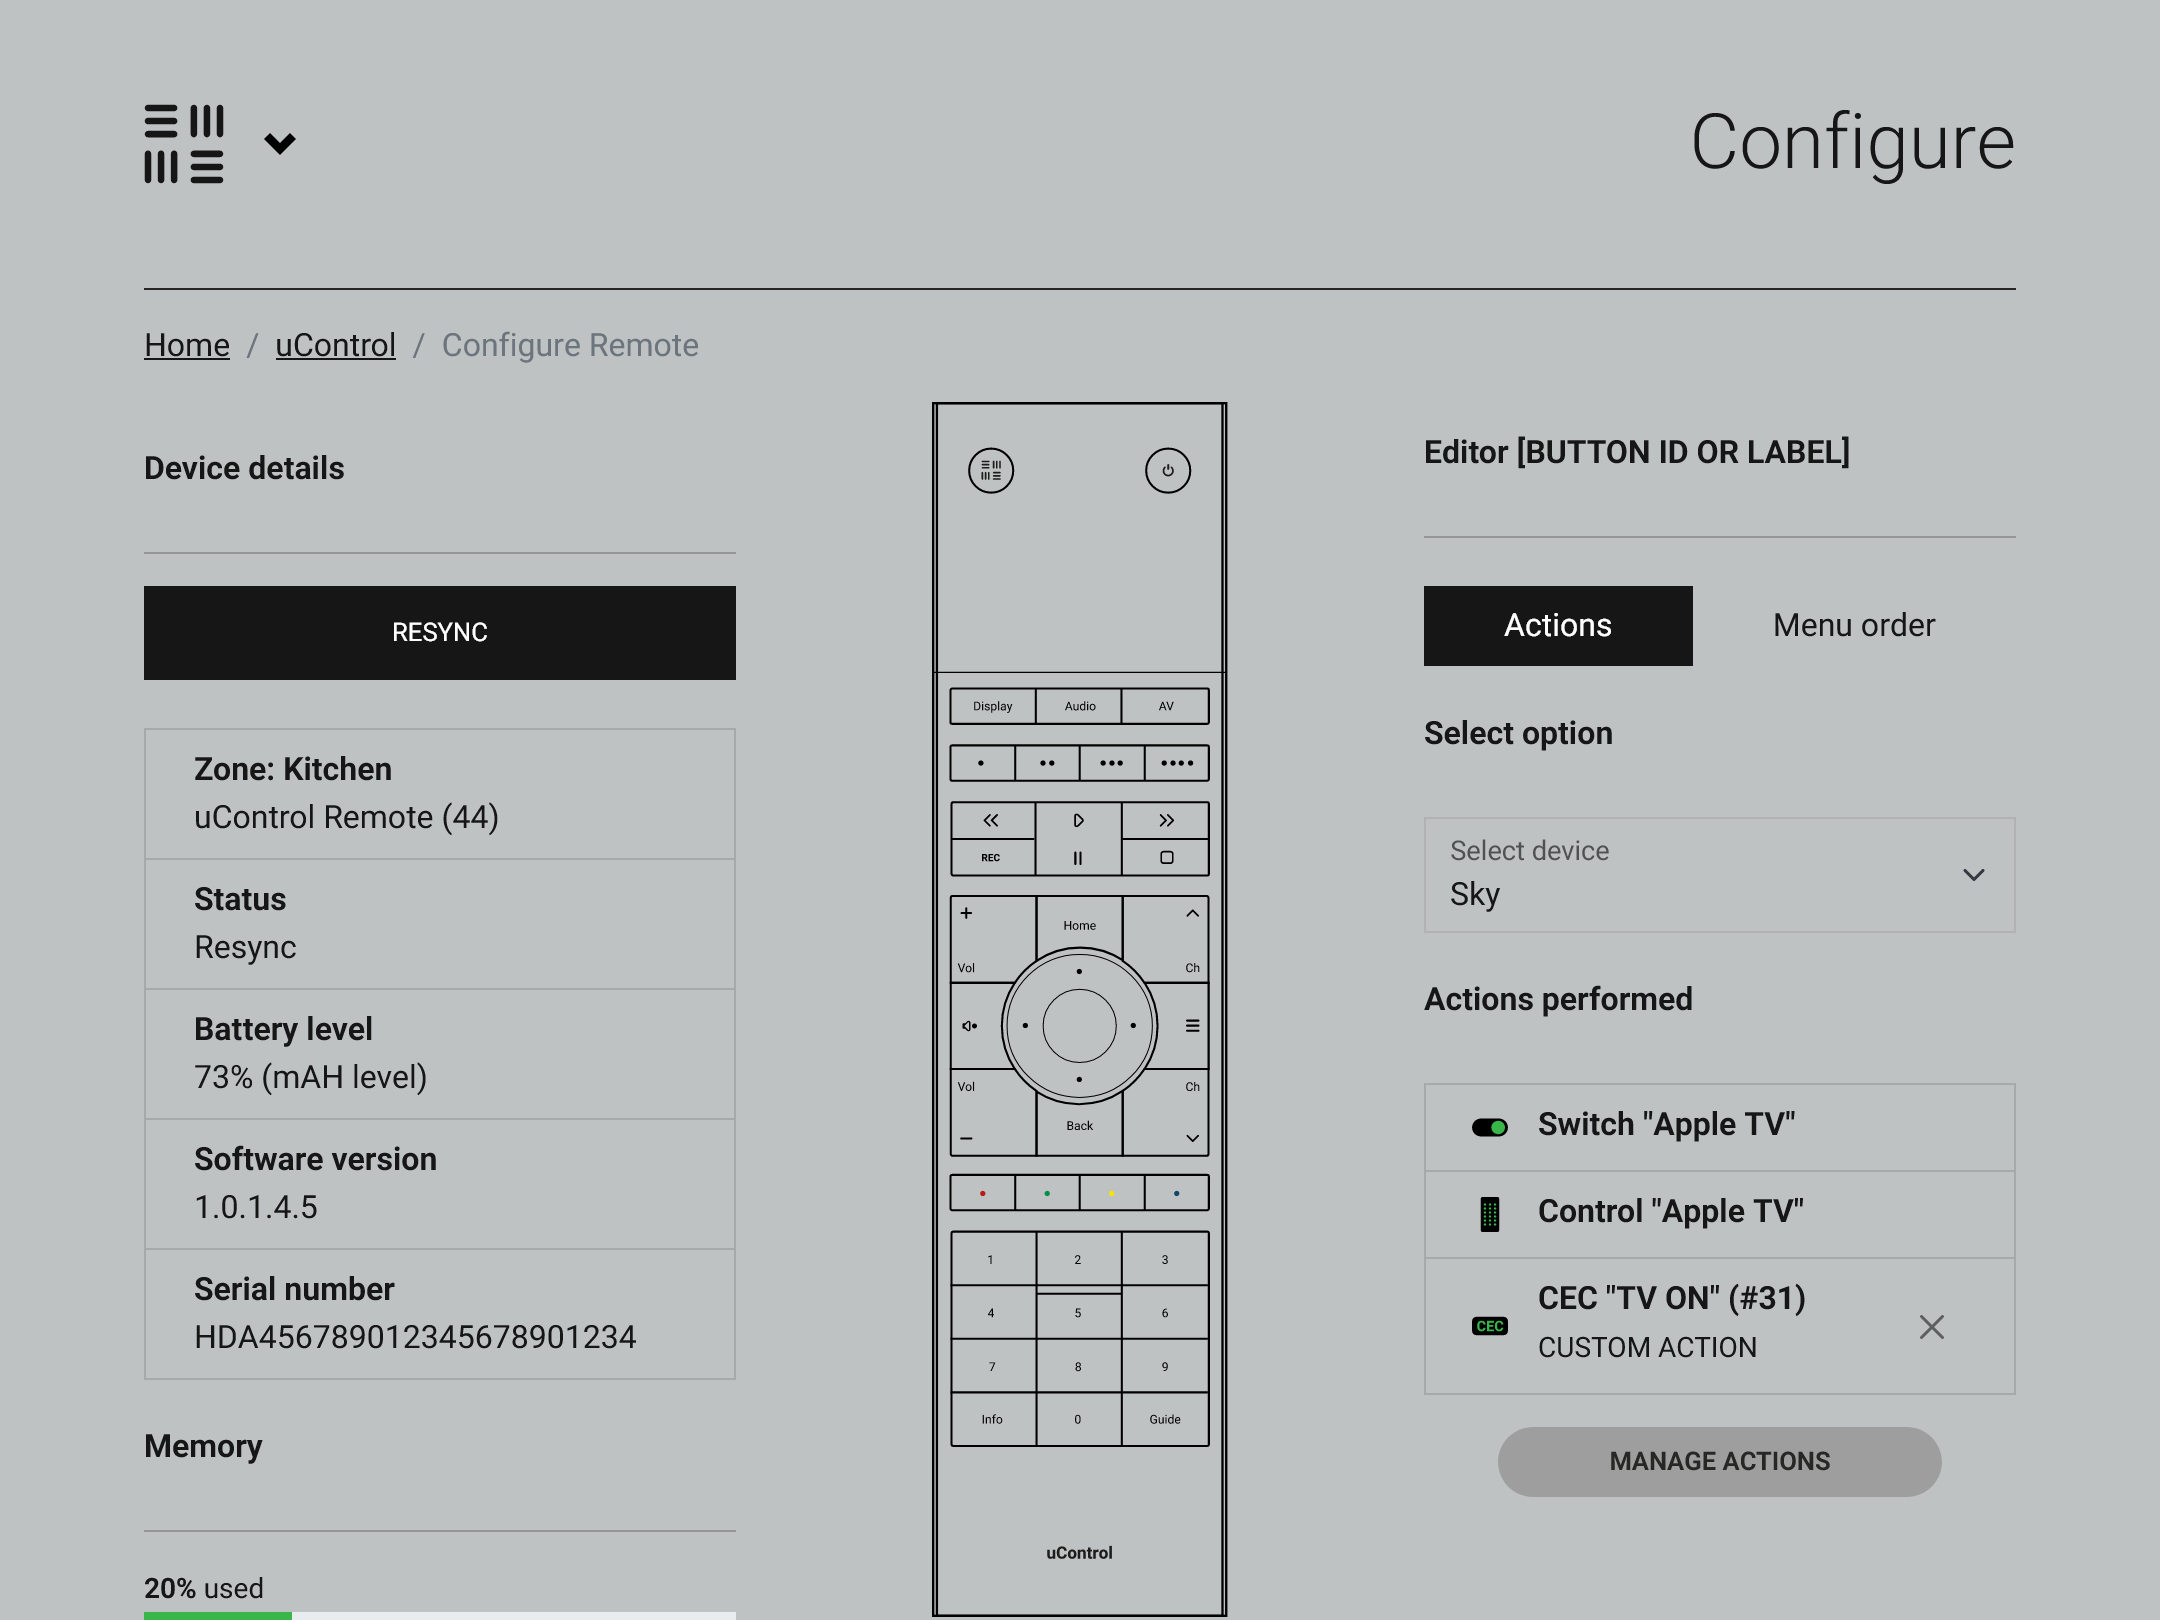
Once that is done uOS will take all the configuration data and build your uControl Remote configuration. If you want to use the remote at this stage then you’re ready to go as this will match the app configuration almost exactly. BUT– we’ve added features that turn the remote into YOUR remote, it’s time to customise.
The configuration for the uControl Remote simulates the remote itself which makes it very easy to see what the remote is doing and (if you want) to change that behaviour.
Customise
I think where we differentiate from a traditional control system is the level of customisation that’s possible in the uControl Remote. It’s easier to think of the base configuration as a blank slate upon which you can add customisations to tailor the device to suit your exact needs. Let me give you an example.
Family member 1
likes to use the Power button to turn the AV in their room on. They like to do this one-by-one as it is done inside the uControl app.
Family member 2
prefers if this was done based on the activity (selecting Sky Q, for example) that they want to do in the room.
I’ve used this to demonstrate a point: generally, in a control system, this is a locked behaviour which makes the system easier to program and deploy but comes at the cost of flexibility and these limitations are quite common amongst the big players. In uOS and our approach, we’ve built it to support a myriad of options from day 1 (because we’re focusing only on AV) and as you can see it’s as difficult as selecting the button and adding the extra action yourself. Almost every button on the remote can have its own secondary action applied to it, but just because you can doesn’t mean that you should!
Overall we are still targeting shipping first deliveries to beta testers at the end of June 2023.
Would you like to help us make the uControl Remote as good as possible?
We're looking for helpful HDANYWHERE installers, who have an MHUB in their showroom or own home, to give feedback on the uControl Remote setup, configuration, operation and performance. If you’re interested please let me know.